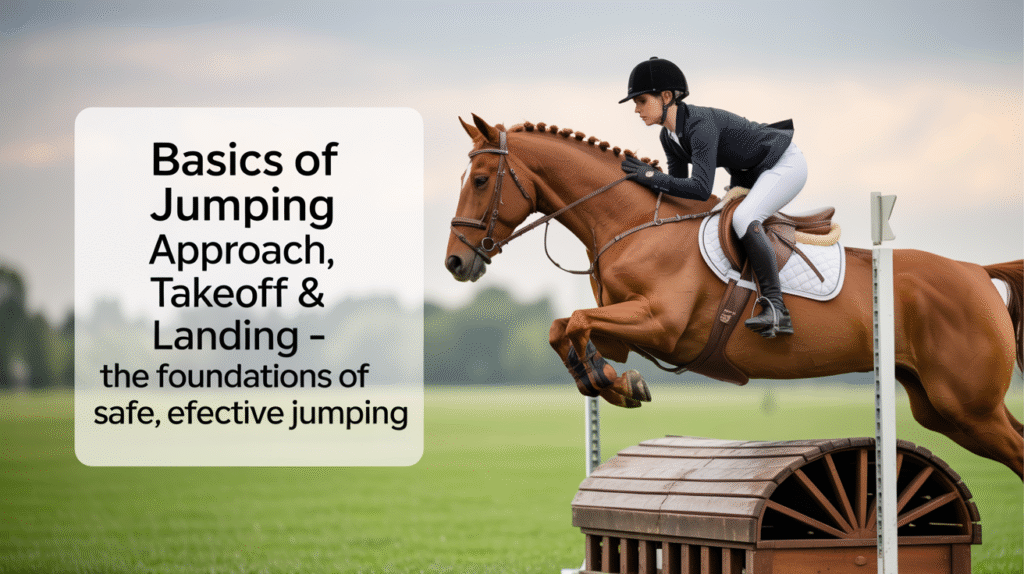
Mastering the basics of jumping, including the approach, takeoff, and landing, starts with clear communication, balanced riding position, and precise timing. These three phases set the stage for confidence and safety, allowing both horse and rider to perform jumps with rhythm, control, and trust.
Why Understanding the Three Phases Is Crucial
Jumping isn’t just clearing an obstacle, it’s executing a controlled sequence that develops your horse’s athleticism and builds your partnership.
Benefits of Solid Jumping Basics
- Safety: Reduces refusals, run-outs, and unbalanced landings.
- Confidence: Builds trust in horse and rider through predictable patterns.
- Performance: Sharpens timing and enhances scope for higher or more technical courses.
Phase 1: The Approach
A balanced, rhythmic approach sets up every successful jump. Without it, takeoff and landing become unpredictable.
Establishing Rhythm and Balance
- Consistent gait: Whether trot or canter, maintain a steady tempo.
- Clear aids: Use half-halts and leg pressure to ensure your horse listens.
- Eyes up: Focus beyond the jump to guide your line and encourage forward thinking.
H3: Half-Halt Technique for Approach
- Seat: Sit deep to collect energy.
- Leg: Maintain or reapply leg to keep impulsion.
- Rein: Close gently, then immediately release to reward balance.
Straightness and Line
- Exact track: Ride straight toward the center of the fence.
- Shoulders and hips: Align with your horse’s shoulders to avoid drifting.
- Outside rein support: Prevent bending that pulls the horse off line.
Phase 2: The Takeoff
Takeoff is the moment your horse gathers energy and springs over the jump. Your position and timing here determine the arc and clearance.
Rider Position at Takeoff
- Two-point or half-seat: Lighten your seat to allow the horse’s back to round.
- Forward inclination: Close the angle at your hip, keeping your spine long.
- Soft hands: Follow the horse’s head stretch without pulling on the bit.
H3: Leg Support Through Takeoff
- Calf contact: Keep supportive leg pressure to encourage engagement.
- No gripping: Release knee grip to let your lower leg absorb motion.
Timing Your Release
- Crest release: As your horse rounds its back, slide your hands up the reins to give freedom.
- Following release: Allow your hands to follow the neck’s arc, maintaining a straight line elbow-bit-elbow.
Phase 3: The Landing
A controlled landing is essential to prepare for the next stride or jump, and to keep your horse balanced and confident.
Absorbing Impact
- Secure lower leg: Heels down and calves softly against the horse for shock absorption.
- Bent knees and hips: Let joints flex to follow the horse’s motion.
- Eyes ahead: Look to where you’re going next, not down at the ground.
H3: Reestablishing Contact
- Steady reins: Gradually re-gather contact without yanking.
- Leg aid: Keep leg on to prevent the horse from dropping behind the vertical or slowing abruptly.
Transitioning to the Next Stride
- Maintain rhythm: Encourage your horse to continue forward with light leg aids.
- Balance check: Use half-halts if the landing caused rushing or slowing.
Common Mistakes and How to Correct Them
Even skilled riders face challenges. Identifying pitfalls helps you refine your technique.
Mistake: Jumping Ahead of the Horse
- Effect: Unbalances both of you, leading to quick landings or refusals.
- Fix: Keep your weight back over the stirrups; focus on following the neck’s motion, not anticipating it.
Mistake: Stiff Hands and Arms
- Effect: Restricts the horse’s jump and causes discomfort.
- Fix: Practice keeping elbows soft; do no-rein rides on the longe line to feel body-only balance.
Mistake: Losing Leg Contact
- Effect: Horse slows or shifts weight to the forehand on landing.
- Fix: Place tape across the stirrups to remind yourself to keep heels down and legs secure.
Drills to Build Confidence in Jumping
Structured exercises reinforce correct patterns and build muscle memory for both horse and rider.
Gymnastic Grids
- Set up: A series of small jumps or poles at measured distances.
- Benefit: Teaches timing, encourages balance, and improves spring and rhythm.
Cross-Rail Progressions
- Set up: Low X-rails that guide the horse’s shoulders to the center.
- Benefit: Builds trust and helps horses learn to jump straight and evenly.
Bounce Exercises
- Set up: Two fences placed one stride apart (a “bounce”).
- Benefit: Develops quick recovery, strengthens hindquarters, and refines rider position.
FAQs About Jumping Basics
Here are some questions and answers about mastering the approach, takeoff, and landing.
How should I hold my reins at the jump?
Use a crest or following release, allowing your hands to move up the horse’s neck in the moment of takeoff and landing while maintaining a straight line from bit to elbow.
When do I switch from two-point to half-seat?
You can ride in half-seat from the approach through takeoff, then move into two-point for cross-rails or higher to maintain closer contact and balance.
What if my horse lands on the wrong lead?
Ride forward in a balanced canter, then gently rebalance with a half-halt and ask for a simple transition or a counter-canter to correct the lead.
How can I prevent rushing on landing?
Keep your leg on through the jump, maintain an elastic seat, and use a controlled half-halt as the horse’s hind legs hit the ground to regulate tempo.
How often should I practice grid work?
Incorporate grids once or twice per week, ensuring you keep the exercises varied and avoid fatigue. Always allow walk breaks between sets.
By honing each phase—approach, takeoff, and landing—you build a solid jumping foundation. Consistent practice, correct position, and clear aids lead to safer, more confident outings over fences for both you and your horse.